For this second week, I’ve learned more workshops which were etching, digital drawing, heat transfer printing, aperture, clay work, using green screen and for me I think the second week workshops are a bit more challenging than the first week which made it more interesting.
Etching and Printing it out
In this lesson, I learned how to etch onto the plastic plate using a stylus and I found out that it works similarly to the pencil, using pressure, so if I put more pressure onto the plastic plate, the print that will come out later will have a darker outcome compare to the lighter pressure lines that did. I also wanted my outcome to be quite expressive and so the lines that I make onto the plastic plate are dark and rough giving out that mood.
The printing process takes up quite a lot of time because I had to make sure that there are no excess ink on the plastic and that it shows all the line clearly which was difficult as the ink was very viscous and so it was already hard to spread it on. The actual printing bit though was the easy bit. I used the blotted paper to be the background and I transfer the print onto the blotted paper by using press machine.
The process of making was fun and I wish I could have more time to experiment with different backgrounds and may have put different colours onto it making it more colourful.
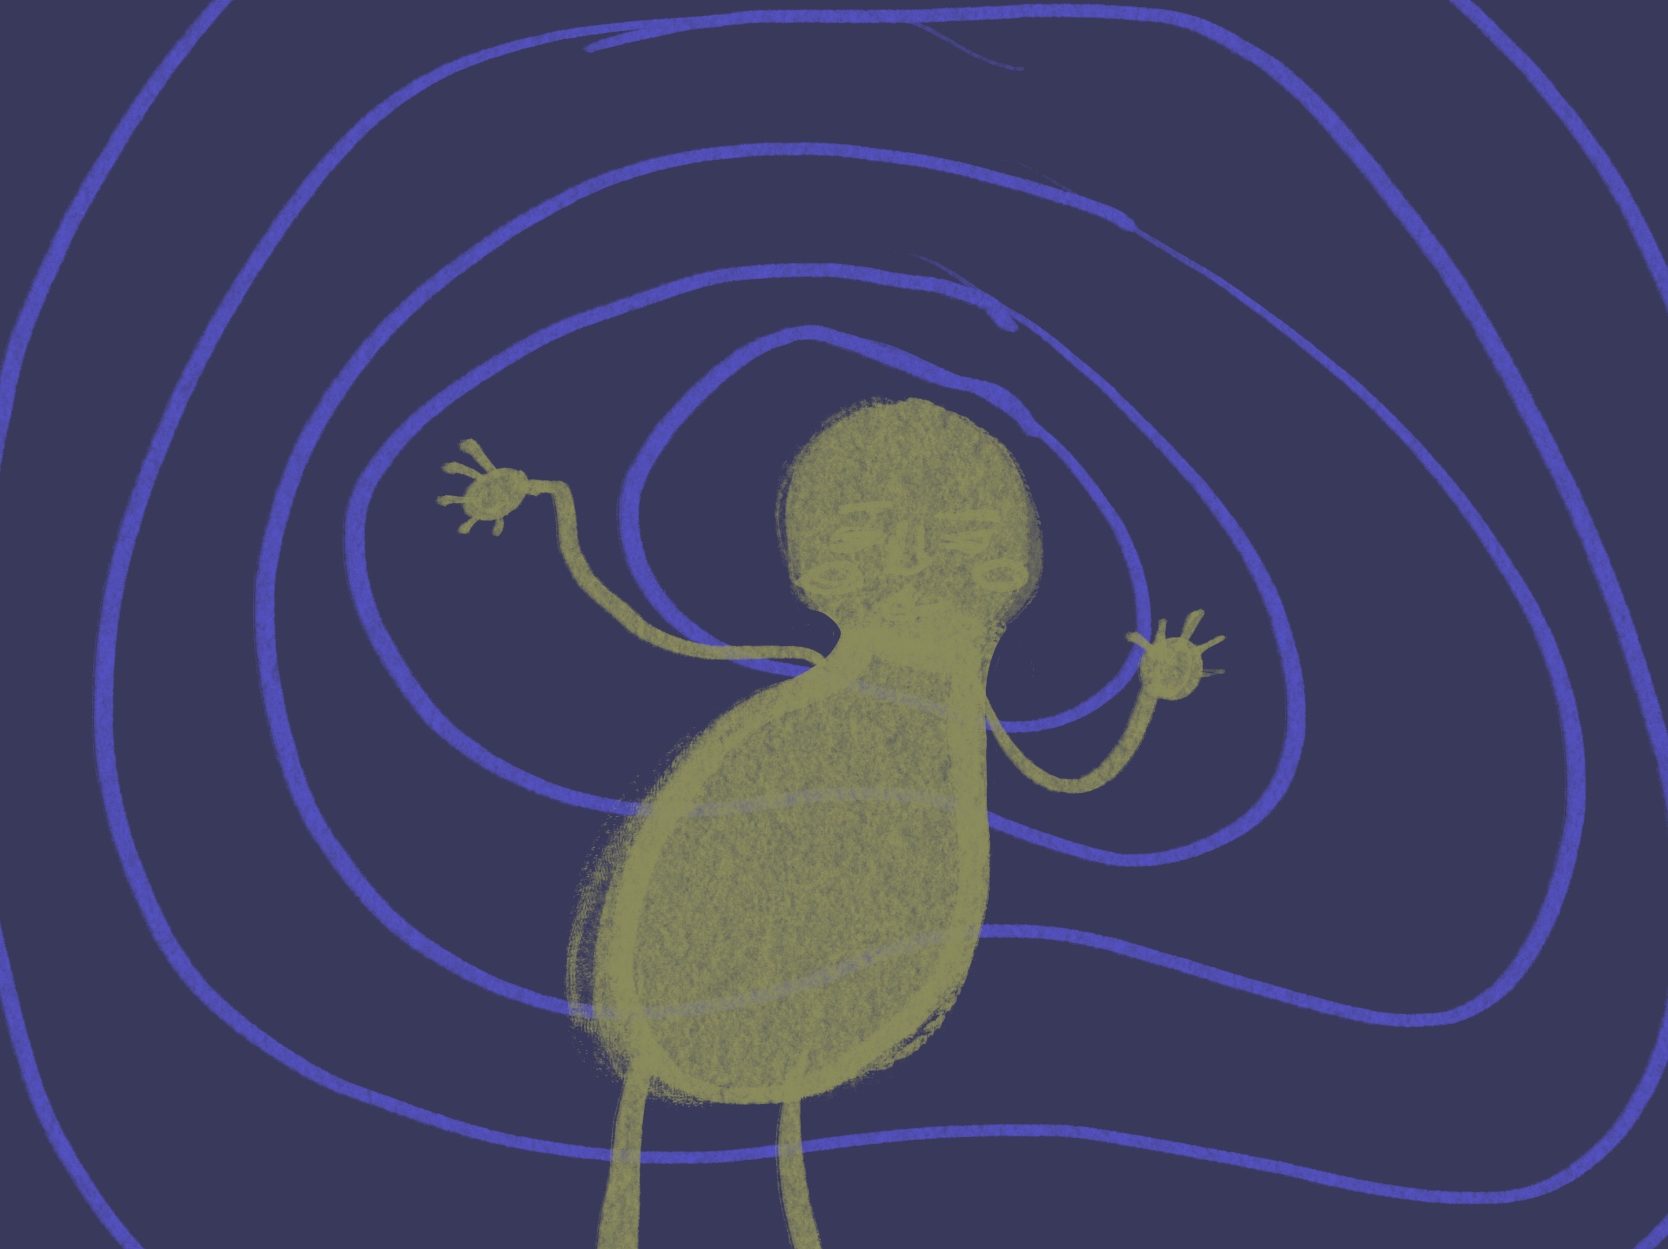
Digital Drawing
In this workshop, I’ve learned different tools and what can be done on photoshop and what we’ve learned was how to draw using drawing tablet as tools. I tried a range of brushes and also how it looks texturally and what I like about it was that it’s easy and I can just delete the mistakes by pressing buttons and not to do it physically.
I also like how the two colours can be shown when overlapping each other making those colours look transparent. I found out that there are so many things that can be done on photoshop and that made it looks complicated for me because there are so many buttons that everything looks everywhere making it confusing. However, learning it slowly and taking each step not too big can really help and that’s what I did on this workshop.
Heat Transfer Prints
I’ve learned another type of printing today and this was in the textiles lesson, this type of print is to print on fabrics and I created patterns using resists. I found this type of printing really fun as I can choose patterns, colours and textures making it more interesting compare to other type of prints.
There were so much more methods in this print compare to other type of print and also the heat transfer machine could be quite dangerous if not careful but I think it was a good experience to have and to get to experiment with these things can be rare.
For me to improve, I think it could be that I make it more meaningful for the other two prints I’ve made because I only have 1 meaningful print but not for the other two.
Clay
For the clay lesson, I learned how to make textures using many types of tools and the textures I made was inspired from the previous work that I did which gave me the idea.
I got to experience 2 types of clay, one got bits of grains in it giving a little rough texture and the other one has a really smooth texture made it really satisfying to work with.
We used the rough clay to make texture samples and the smooth clay for making vessel and the process of making these were really enjoyable and to improve, I could have done more texture on the vessel with both techniques.
Aperture
We learned how to take pictures with the camera to understand how the amount of light can be used in an exposure to make things in the background blurry with the name of aperture. High aperture makes everything clear and low aperture makes the background blurry.
For the low aperture, it is more common with portraits photos whereas for the high aperture, it’s more common when taking landscapes. I got to take these pictures using the camera and make the same picture different by changing the aperture. It was first difficult as I didn’t really see the different between the high and low aperture and I think this was because of the light in the surrounding and that it can affect the camera.
However, after many tries, I got a hang of it and finally can make the same pictures look different with the blurriness in it.
Using Green Screen
In moving image, we learned how to merge the video together and how to make it look the most realistic. We also learned how to use the green screen and how to change it into different backgrounds.
The lesson was really fun and interesting, we got to do a group work and I came up with the idea of us flying through the city like the power puff girls. I think that I’ve gain so much soft skills and that it was so exciting to wok with different people.
The final result came out well. However, to improve, I think that it can have a better quality of editing the video and it could also be a little longer for few seconds.
Overall, it was a really good experience and I would want to try it again in the future.
